Thanks again to everyone who helped fund this project! This is the first part of the long journey into hardware land. I bought a non-working Vita logic board from eBay, which arrived yesterday, packaged like a freeze-dried snack.
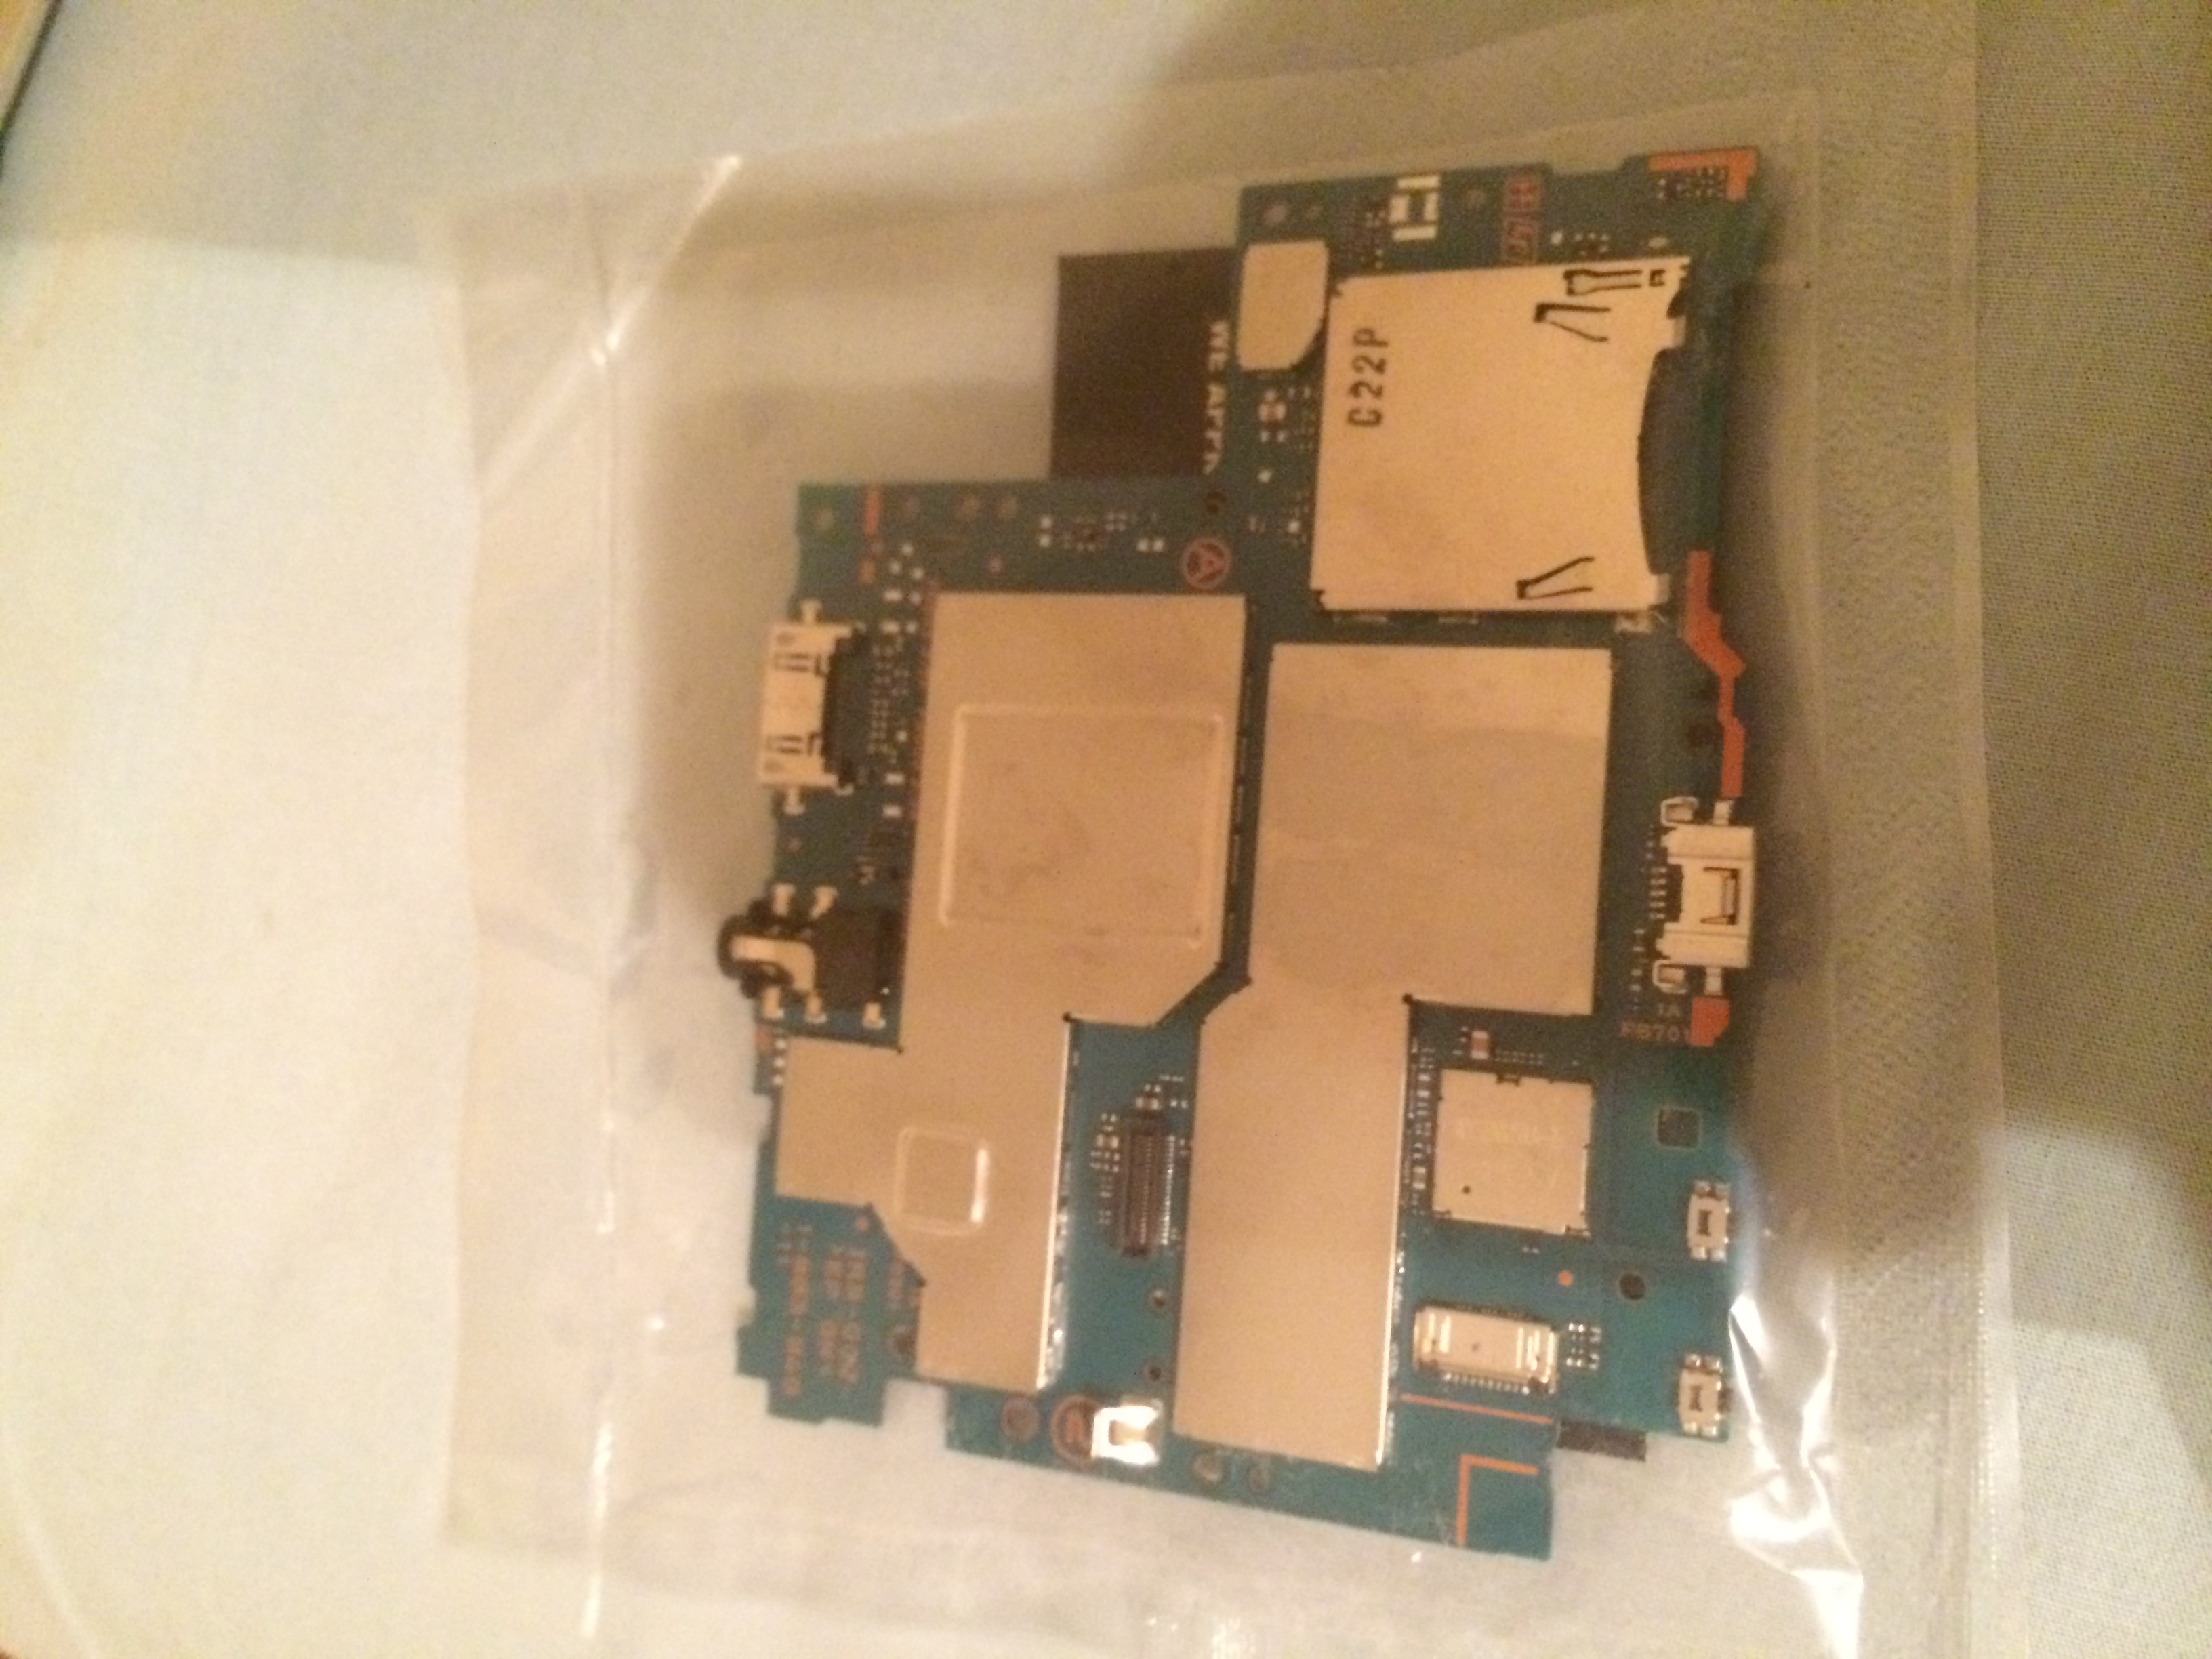
As delicious as it looks.
In order to locate the trace from the eMMC (aka the NAND), my plan was to take a broken logic board and remove the eMMC chip and use the exposed pads and trace it to a test point or something. Then take another Vita logic board (this time with the eMMC still attached) and solder wires to the test point and dump it with an SD card reader or something (as eMMC uses the same interface as SD cards). This is a complicated plan, but it’s necessary because I am not professional enough to be able to remount the eMMC (which is a tiny fine-ball-grid-array (FBGA) chip) once the trace is found.
First, you have to remove the EFI shields. The actual shields are fairly easy to remove; they are clicked into the base, and all it takes is a little pry from all sides (careful not to destroy any components near-by). However, the hard part is getting the surface mounted base off. Removing the base is recommend because it allows easier access to the eMMC, and if the test point happens to be close to the chip, it would be impossible to solder with the base in place.
Before starting, make sure the board is completely stable (since a lot of prying will be performed). I chose to tape the board to a unwanted book (which had burnt marks at the end; don’t know if the heat gun reaches the autoignition temperature, so in hindsight that was not a good idea) but having clamps would be a better solution. When using the heat gun, keep it fairly close to the board (about an inch off) and on the low setting.
To remove the base, heat up the board with a heat gun (to prevent too much expansion in one area) and direct the heat at the edge of the base near the eMMC. Wave the heat gun slowly across the entire edge while using the other hand to try to pry the base off with a pointy-metal-apparatus (scientific term; perhaps a flat head screwdriver will do). As the base peels off, move the heat gun to the next position where the base is still attached and repeat until the entire base is off. Be careful not to move the board too much or accidentally touch any of the tiny components all around because even though the board will not be used anymore, you don’t want to destroy a potential path from the eMMC.
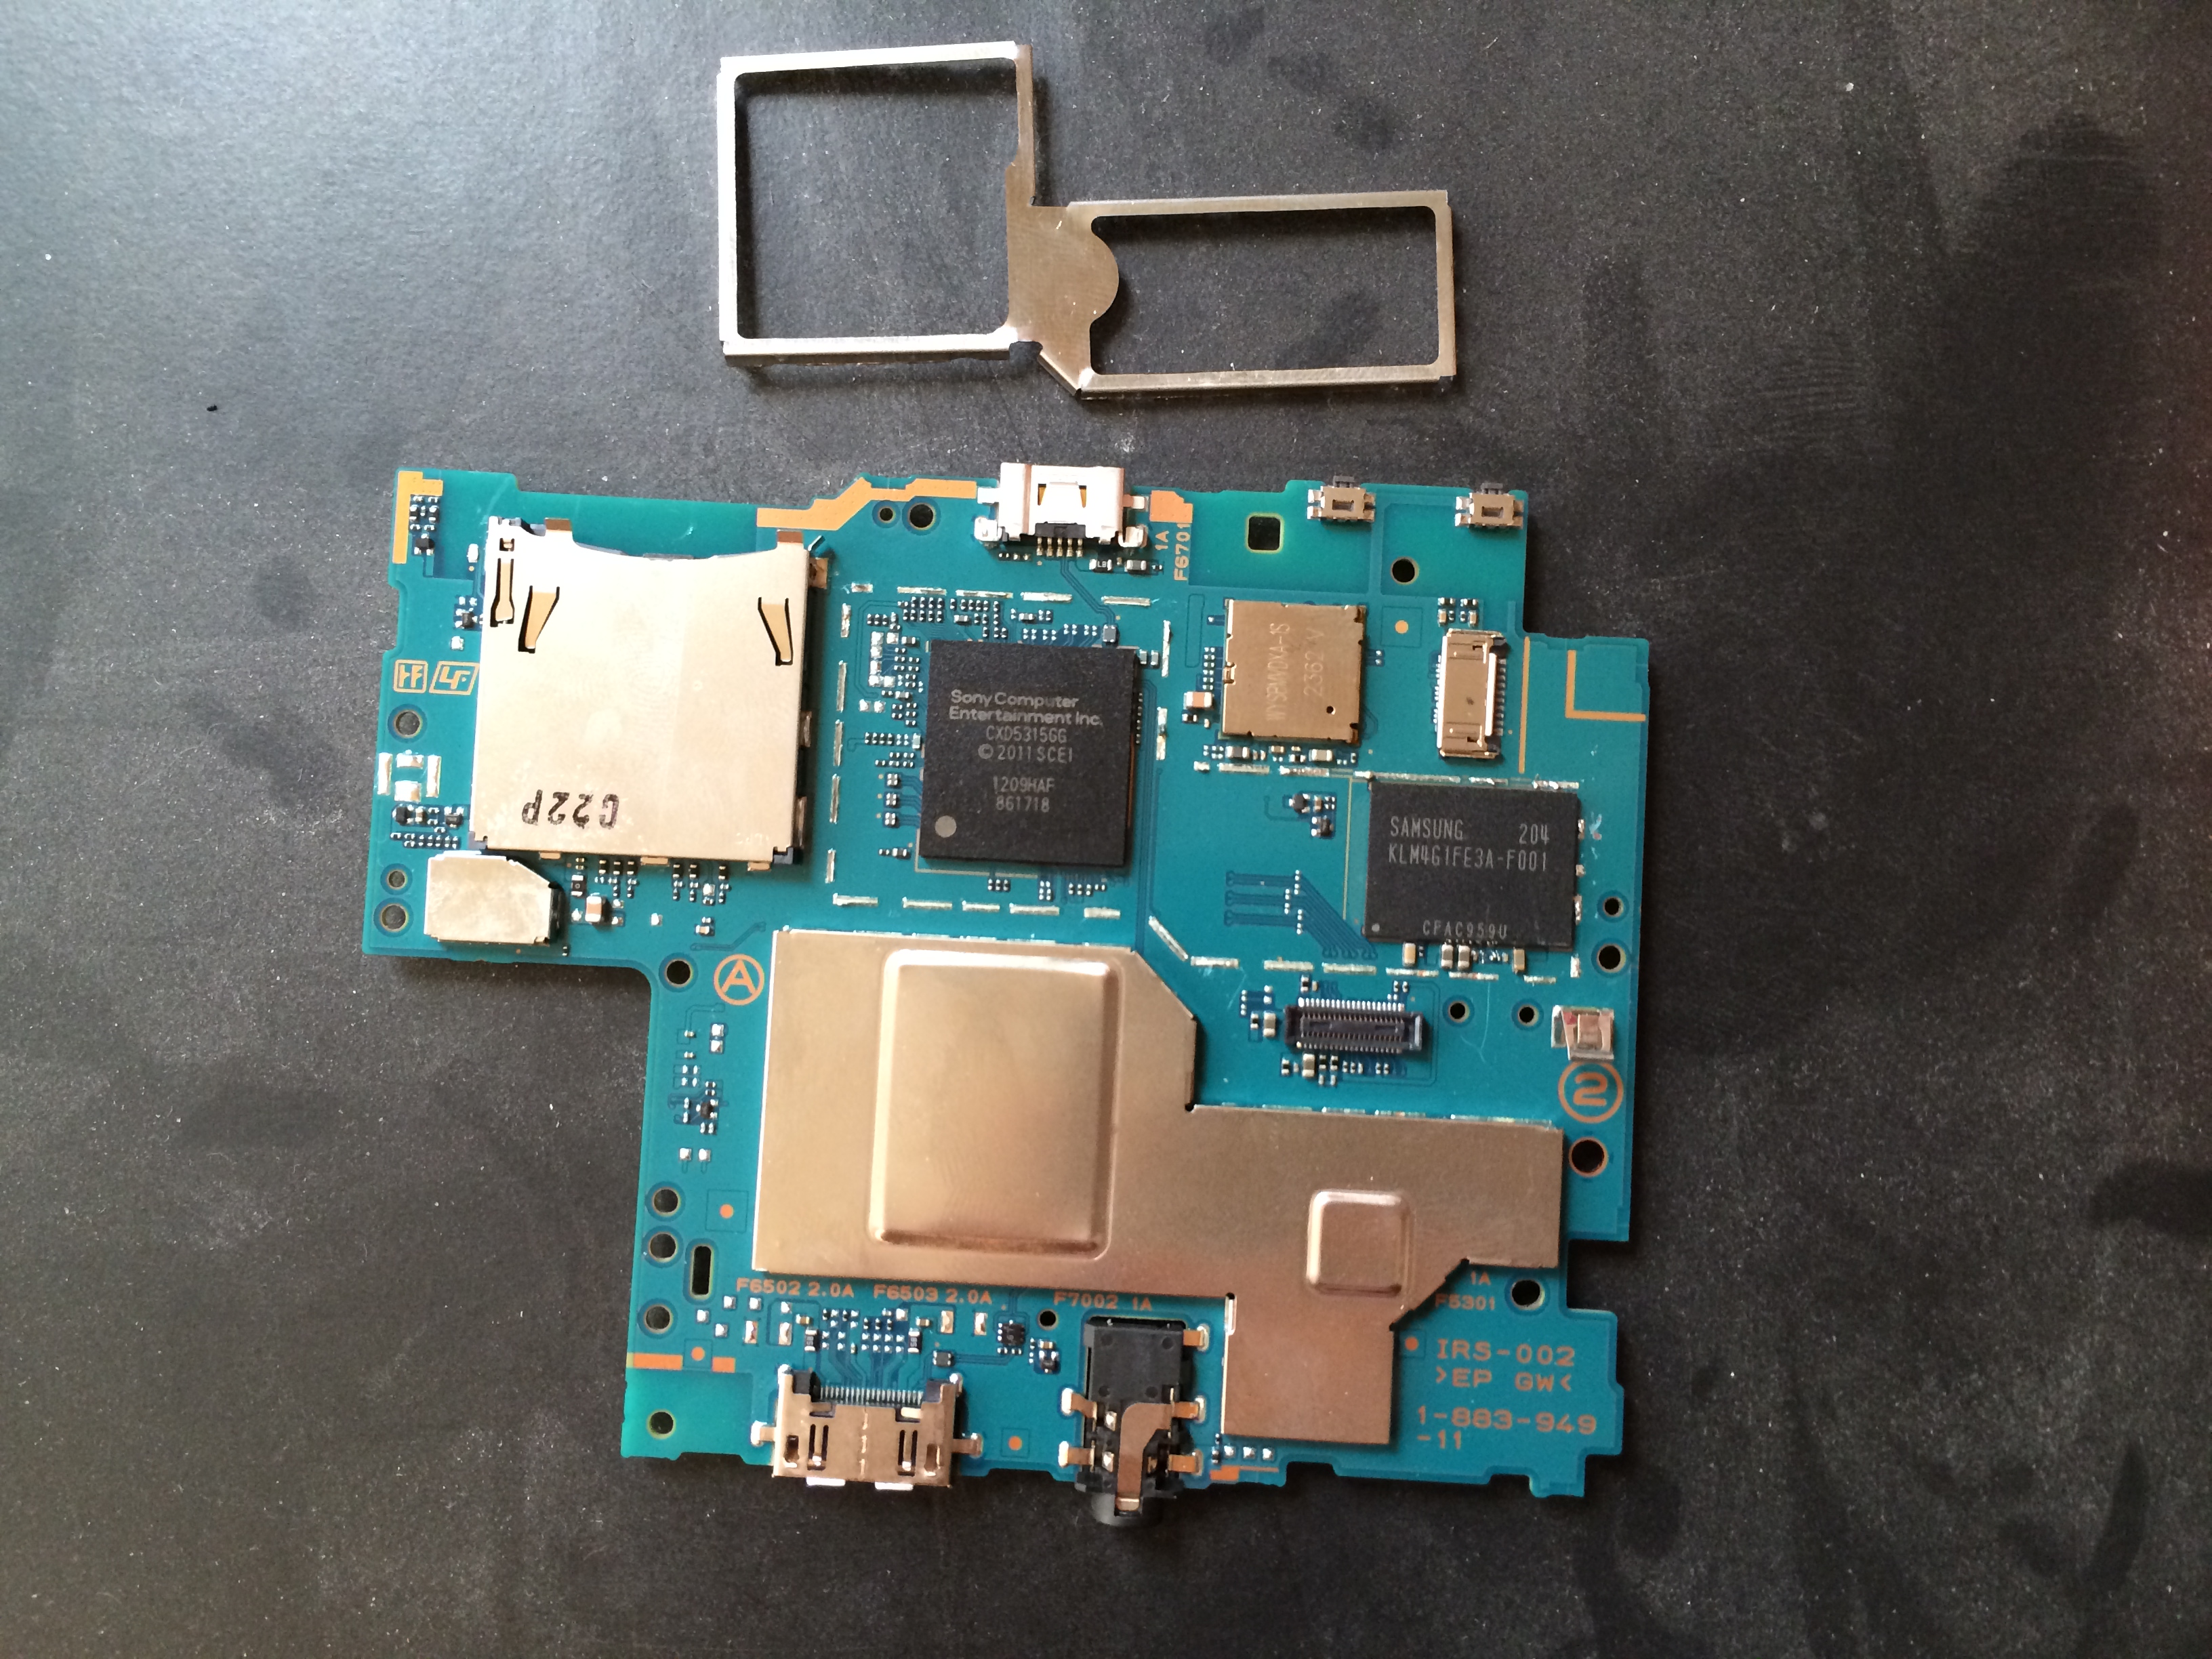
Freed from its Faraday cage
To remove the actual eMMC chip, keep the heat gun directed at the chip for a while, then use your pointy device to try to pry it off. Use a bit of force but not extreme force and be slow with the prying. This is because even though the solder below melts fairly quickly, the chip is held in place with some kind of glue (most likely so during the manufacturing process, when surface mounting the other side of the board, the chip doesn’t fall off). If you pry too hard or too quickly, you may rip some unmelted solder off or (as in my case), actually rip off the solder mask below the glue.
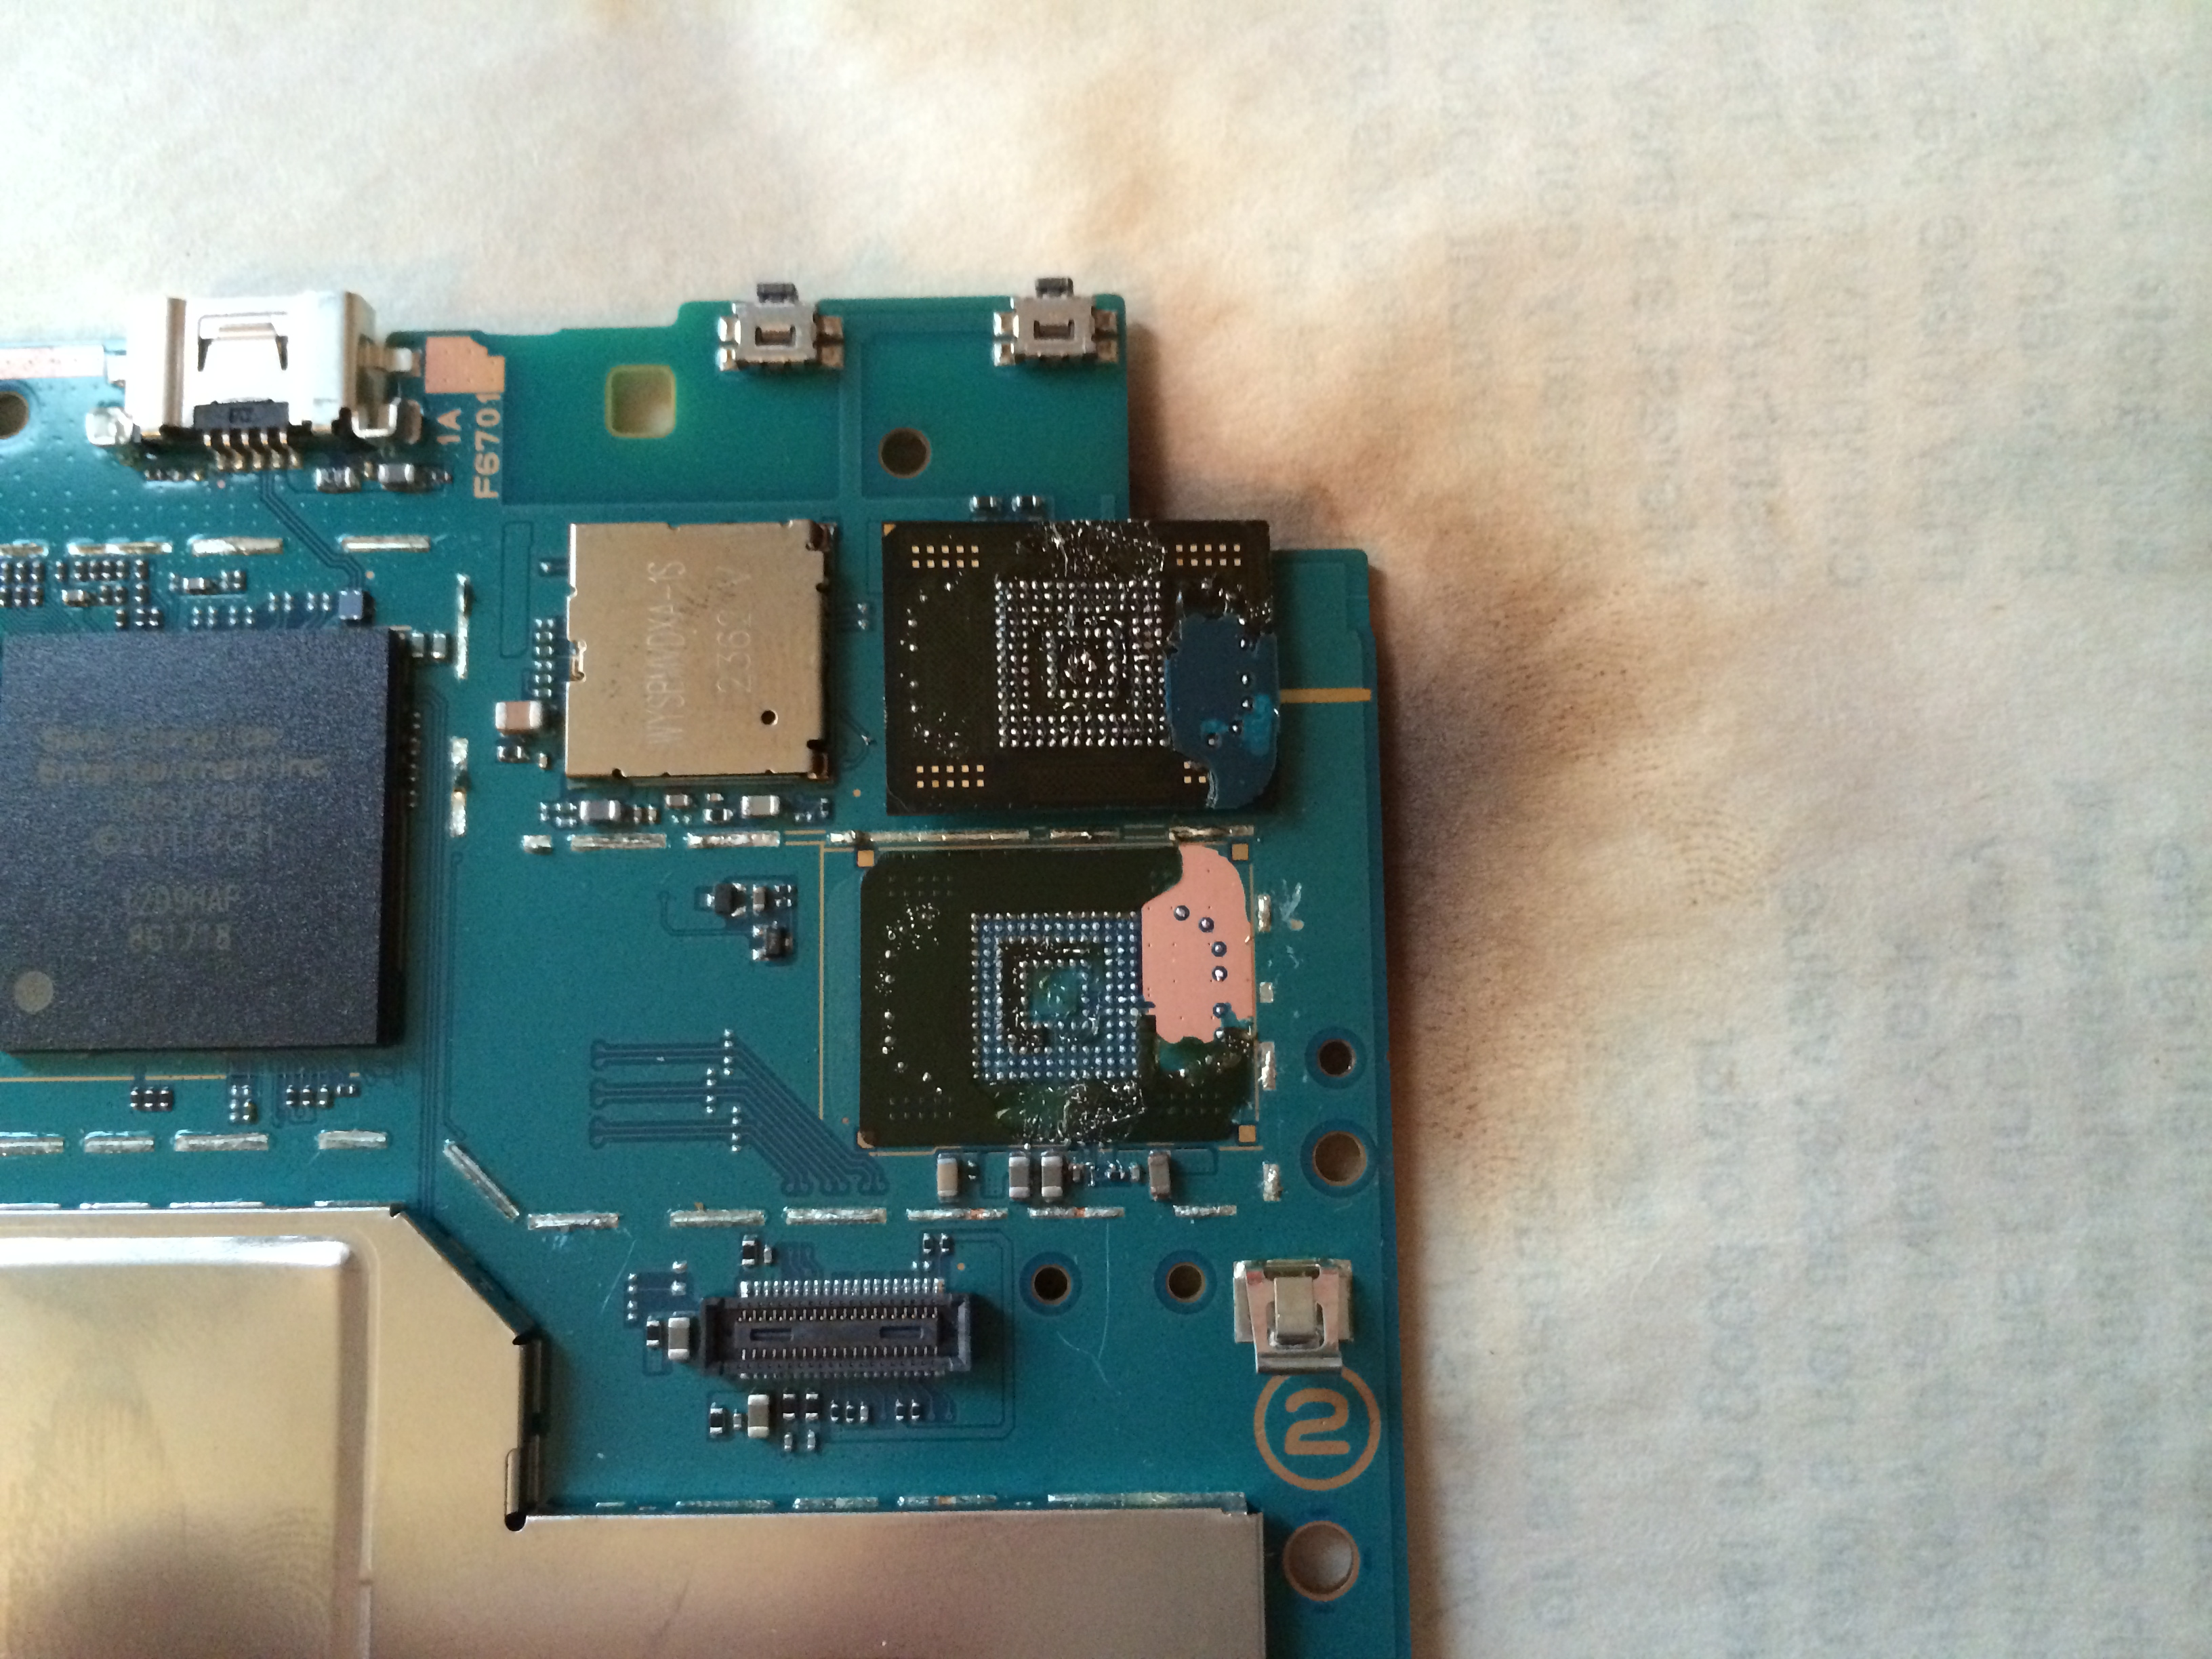
Notice the burnt paper underneath. Don’t try this at home.
You can repeat the process for the SoC if you wish, although more care should be applied here since there are so many tiny components near the chip.

I was a bit better this time and didn’t strip any solder mask.
Congratulations! You have destroyed the Vita beyond the possibility of recovery.
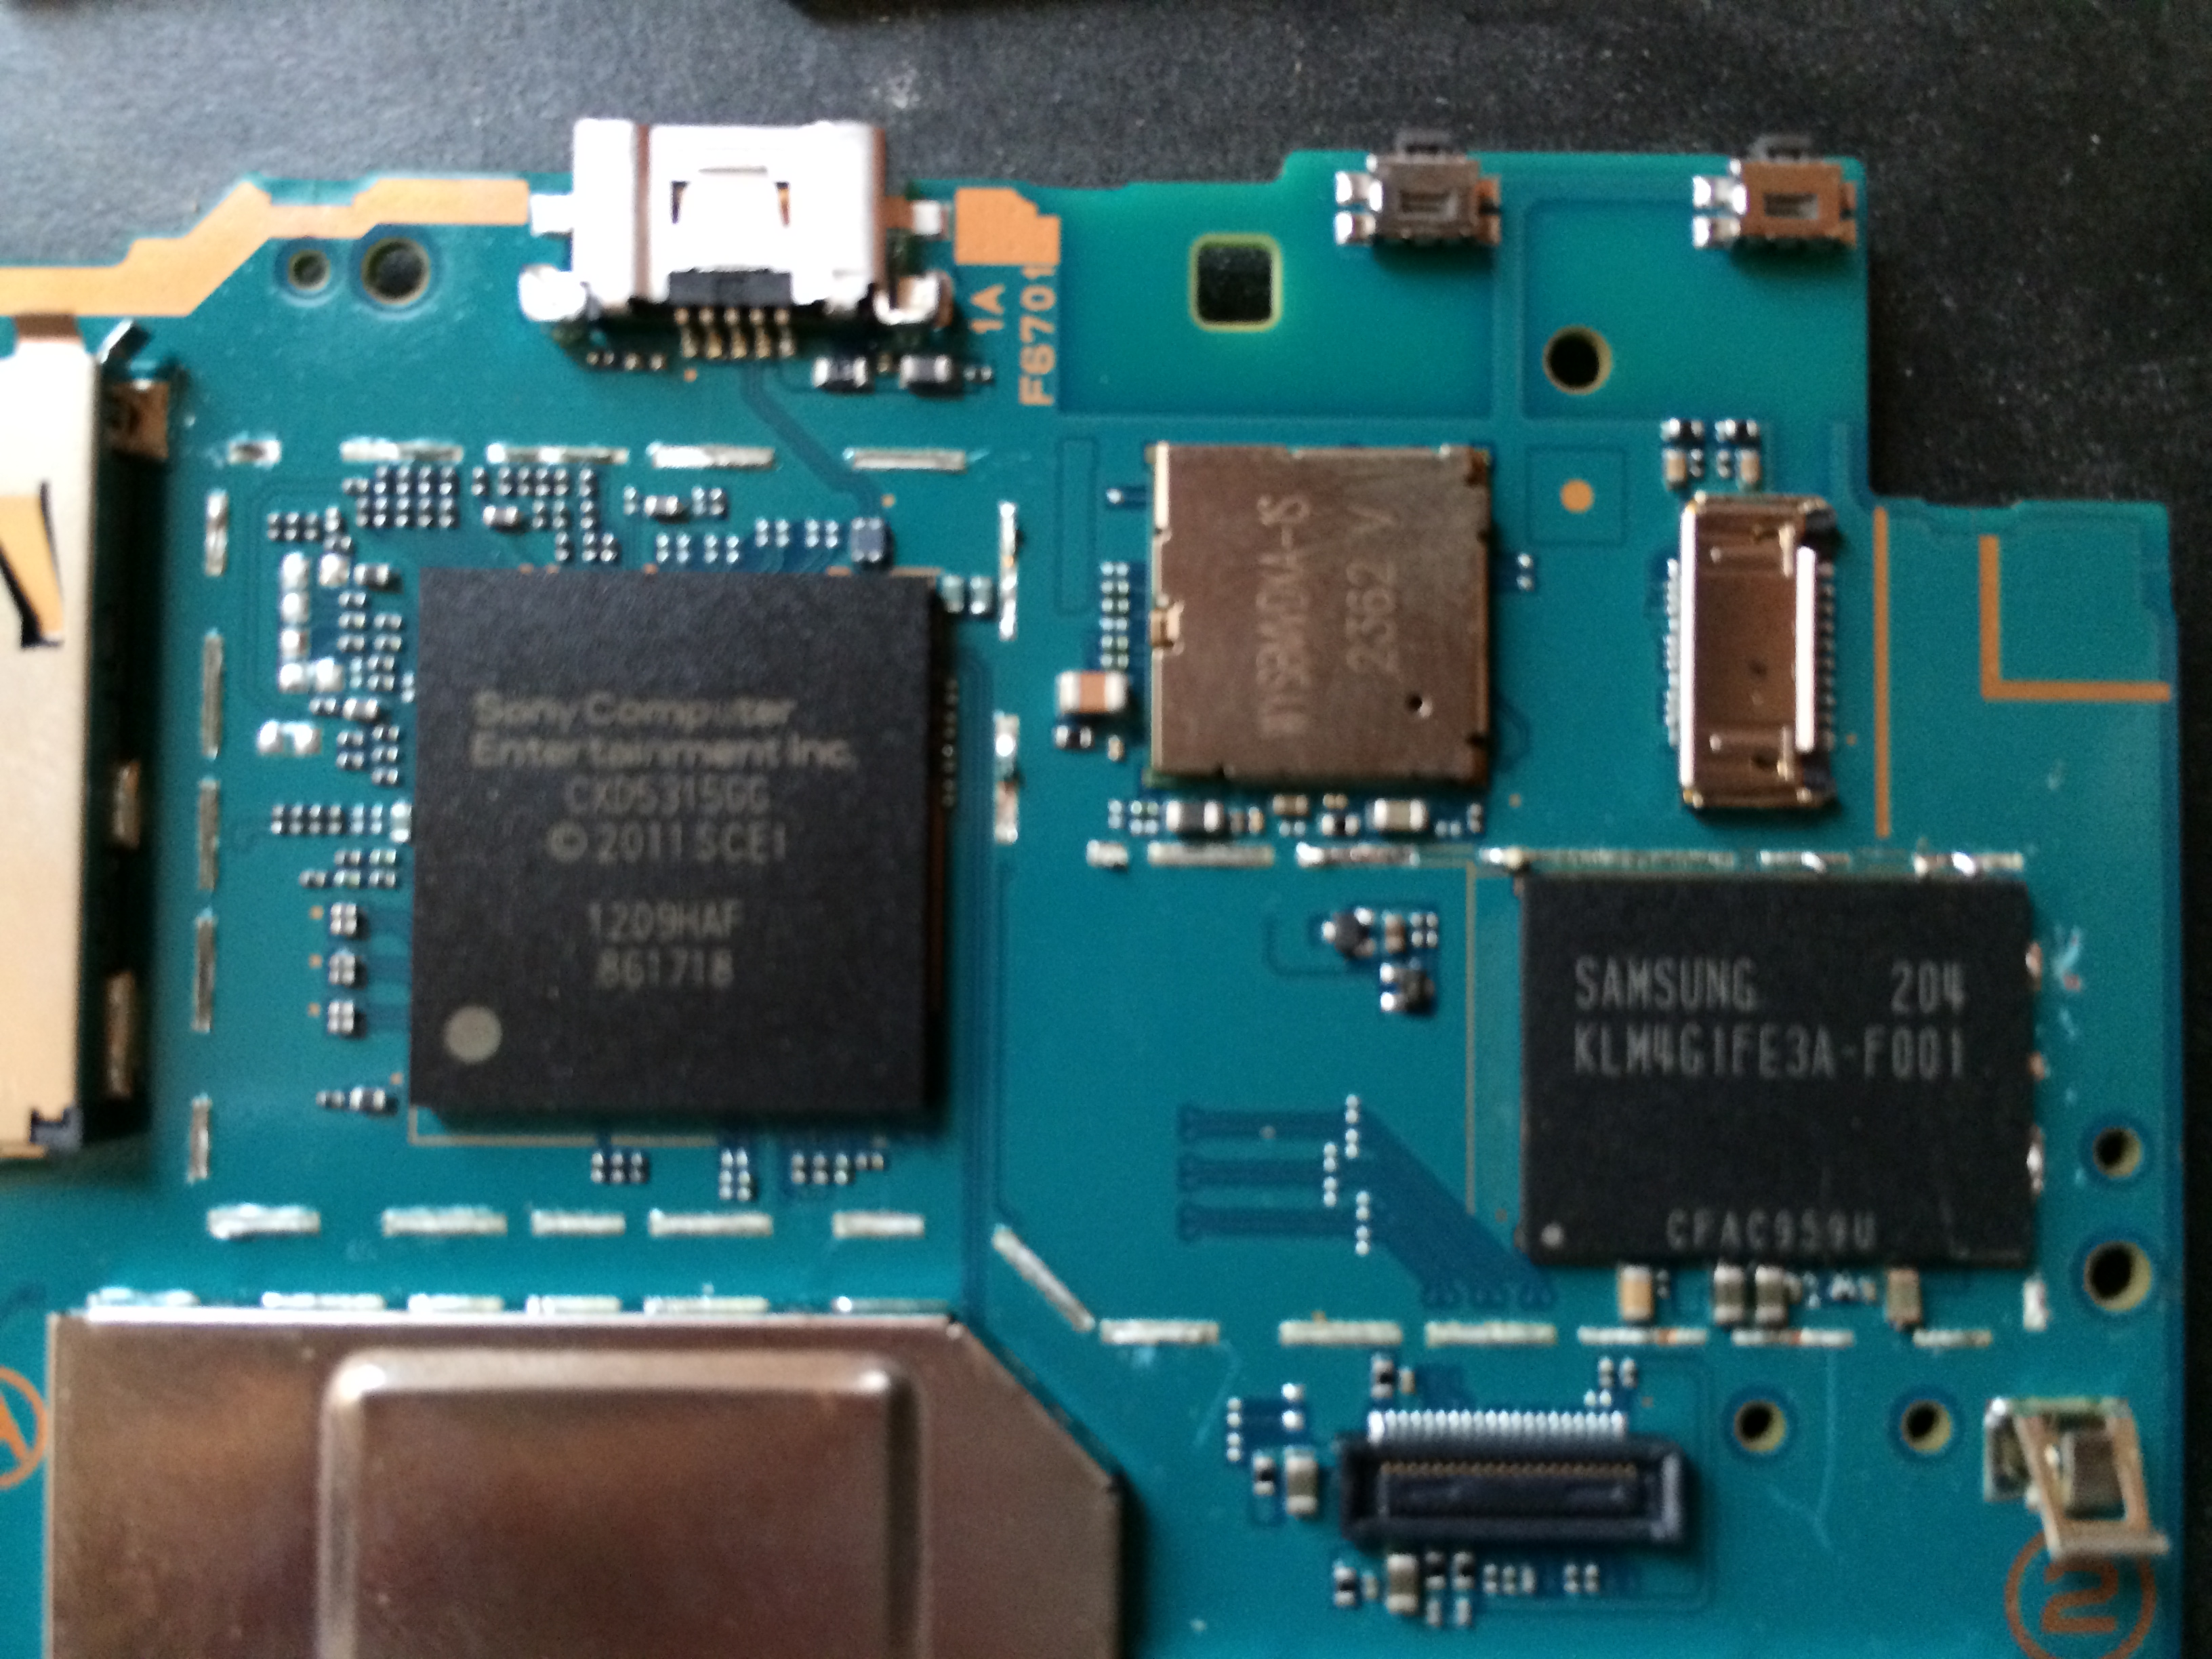
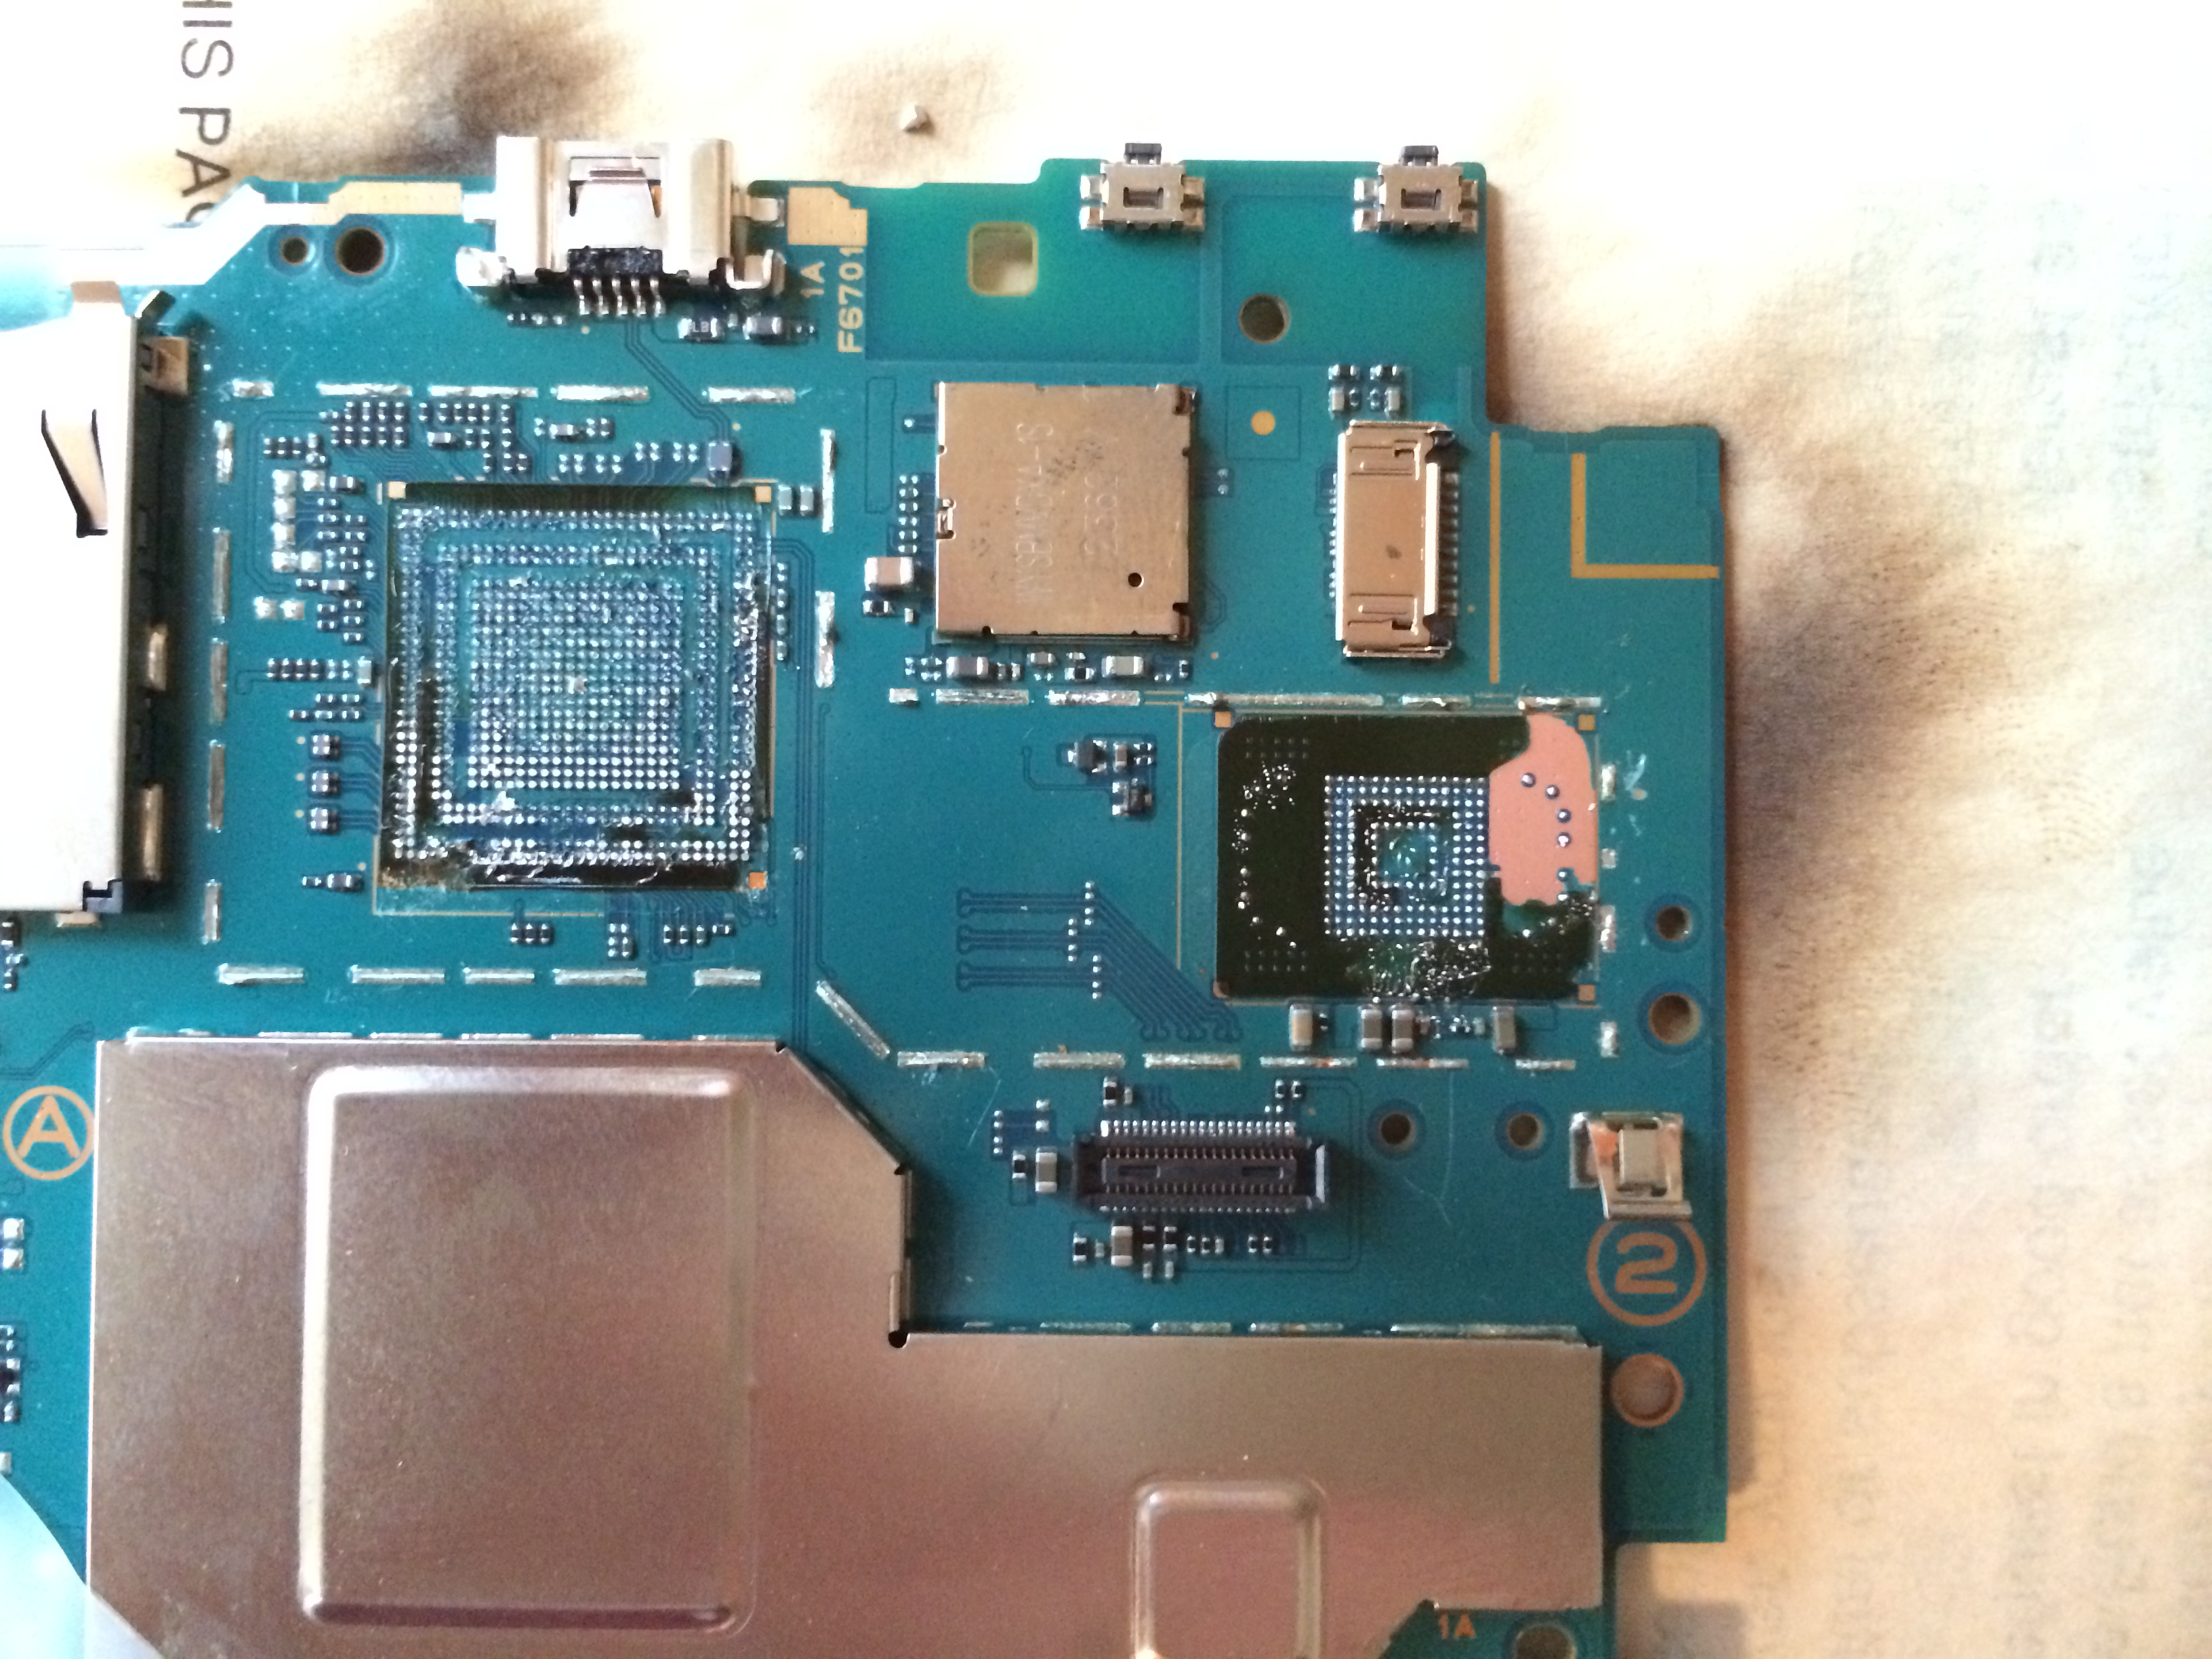
Before the destruction of a great piece of engineering
Vita with those useless chips removed
In hindsight, I should have used a hot air rework gun instead of a paint-stripping heat gun, as someone in the comments suggested last time. Then, maybe it wouldn’t look so bad. But luckily, it seems that all of the components are still attached to the board, so tracing wasn’t so hard. The bad news is that after tracing, it seems that the only exposed connection I could find from the data pins of the eMMC to the SoC was in the pile of tiny resistors next to the SoC. Tune in next time to see more amateur mistakes and destruction.
Nice job!
Nice job.